15 commercial photography tips to set and stay on budget
Let's plan your business look and feel with professional commercial photography
The commercial photography process of portraying a product or business through a photo has been around since the dawn of photography in 1839 when Louis Daguerre produced the first exposure with fine detail within minutes onto metal.
These days we see hundreds of thousands of images daily through a digital process, but the purpose of the commercial photo has not changed – to show off a business or product in the best way possible.
Whether you are a small business or a corporate, you will need an online presence. Commercial photography can help you achieve this. Commercial photography pricing can seem expensive, especially if you are a small business.
However, the good news is you don’t have to break the bank to get a professional look and feel for your business or product. Today, we will give you some tips and advice to help you set a budget for your commercial photography and stick to it.
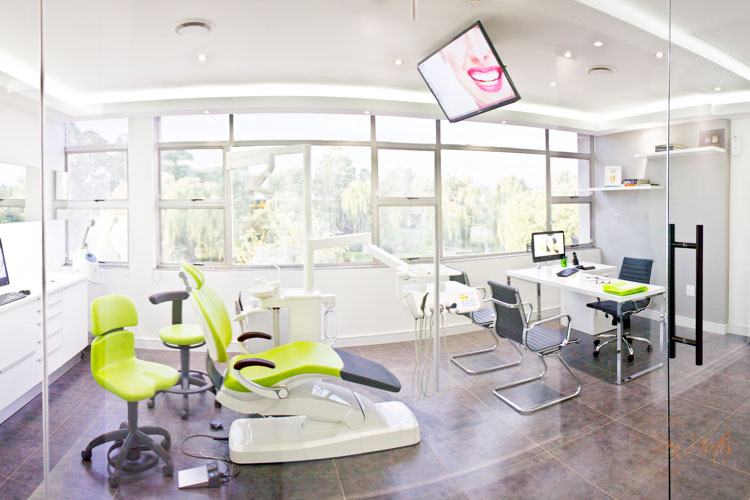
First, check out this awesome commercial photography shoot we did at Lakeview Dental Studio ≫ when they first opened to show off their premises.
1. Setting your commercial photography budget
2. How to stick to your budget and timeframes
How to work out commercial photography pricing and budget?
To set your budget for commercial photography, you need to know what you want to achieve with these images. For instance, are they for a website or social media? Are you covering a specific event? Are they for brochures or other forms of print? Are you showcasing specific products for e-Commerce or trying to create a specific look and feel for your business?
It’s also important to understand the difference between commercial photography and advertising photography. And be realistic with your goal and budget. Advertising photography is used to entice or make potential clients want something by using attention-grabbing designs that usually require production crews and a lot of people on a set.
Commercial photography is more specific to your own company or brand’s look and feel and can be done on a small or large scale, generally with more neutral colouring to showcase the product or business you are offering without any other distractions. Knowing the difference between the two is the first step to setting your commercial photography budget.

Setting a commercial photography budget
1. Decide how many products you want to be photographed and how many photos you want of each product.
Or, if the photos you are looking for are not product-specific, how many photos do you need overall.
2. Decide how many different locations you need to go to – you may only need photos in a studio setting, or if you need additional pictures in an office environment, for example. Are you able to do this in your own offices, or do you need to hire a location?
3. Search for a few photographers to get some commercial photography pricing options and find out what is included in the package.
For instance, at Renphotos, we charge an hourly rate, and as a guideline, we give 80 -100 basically edited high-resolution photos per hour of photography.
4. Set your budget according to how much time you need to get the desired amount of photos. So based on this information, you can figure out how many products or pictures can be done in an hour ( at one location – different locations will require more time, and a minimum of an hour is needed at one location).
But some photographers may not work with a time, and only with a certain amount of photos given. Also, check how flexible they can be in their quote.
5. Research some images and send these along with the images you have gathered and compiled into a short brief to the photographers you have found and get an official quote from them.
Be sure to include information like how soon you need the photos and what quality you need them to be. From the quotes, you receive you should be able to set your budget.
How to prepare for your commercial photography session and stick to budget
Now that you have set your budget and received your quotes, most of which will require the photographer for a certain amount of time. Here is how you can maximise that time and ensure you are getting the types of images you want.
How to maximise your budget for commercial photography?
1. Be realistic with what images you need and cut out the frills – Do you need images of the same product in five different colours?
Or will one suffice? Or can you get away with photos in one location instead of three different locations?
To help you stick to your budget, you can cut down on the photos you need until you are up and running more effectively. Then, later on, you can rebook for another commercial photography session, add more variety with your products, or recapture anything you might have missed the first time around.

2. Write down what you want to achieve with the commercial photography session in a photo brief.
What you would like the look and feel of the photos to be –This is called setting a brief – so be sure to include your vision and mission and very specific types of photos that will showcase what you are after.
If you choose product photos, do you need a certain colour background, different angles, close up details etc.?
If the photos are of people, do you need them in different settings, like profile photos, in a meeting or boardroom setting, or perhaps talking over a cup of coffee?
By providing a brief, it means to an extent that you can also hold the photographer accountable as they have agreed to give you the images on that brief with their quote.
3. Find some commercial photography examples of the types of photos you are looking for. This can help your photographer to share your vision for your photos and ensure you are getting more of the type of photos you want.
4. As a cost saver – If your photos require people in different settings, use your company’s staff to achieve the results rather than models.
This will give your photos a more authentic feel and save on the cost of hiring a model. But also be sure to share the same images you have sent to your photographer with your staff, so they also know what you want to achieve. And, of course, get their consent to use the photos commercially.
5. If you are taking photos of products, make sure they are photo-ready before the actual photoshoot – any dust or marks need to be removed, or clothes ironed etc. This can be a big time saver on the day and with the editing for the photographer, which can result in fewer costs overall.
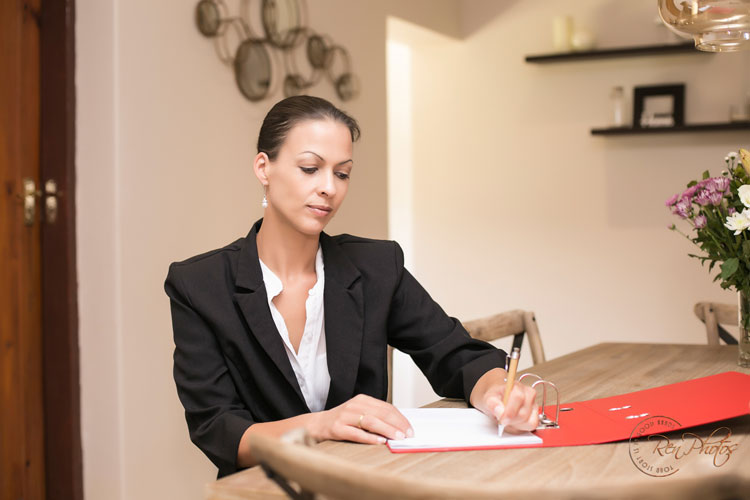
6. If you are taking photos in a specific location, this must be prepped before the photoshoot. Remove any items you don’t want in the photos beforehand. For instance, a boardroom may have a tea or coffee station or a poster that you don’t want in the photos.
You want to achieve a clean, bright, uncluttered look as much as possible. Removing these items before the shoot can also be a big time saver and make the whole process run more smoothly, which means the photographer can be there for less time overall.
7. If you require photos with people, get the people to bring more than one outfit on the day of the photoshoot so that you can get some variety with the images.
Some outfits may also work better than others. By having a bit of variety on the day, you can reduce the risk of having the photographer come back for another commercial photography session.
8. Prepare a few props for your images beforehand. For example, in an office setting, you could add coffee cups, laptops and files.
Which will help make images more authentic and put your staff at ease, especially if they are a bit awkward in front of the camera – having something to focus on other than the camera can help them relax.
9. Try to use locations with a lot of natural diffused light and a lot of space. The more (soft quality) light and space a photographer has to work with, the less time they will have to reframe shots and reposition items like chairs because they won’t fit into a small space.
It also means the photographer can shoot with more space around the actual subject which is great for web designers or graphic designers.
These images are more easily to crop and are versatile for use on different screen resolutions for a website or brochures – these images are useful as they can be resised without cutting out elements you want to keep.
On the contrary, you risk losing some of the details that make the image stronger with a tightly cropped image with too much detail.
10. Choose a photographer with experience in commercial photography. It can be tempting to use a photographer that normally takes family portraits as they might seem cheaper.
However, an experienced commercial photographer will know what to look for in terms of light and location to make impactful images and how to direct people to get the look and feel you are trying to achieve.
This can help you avoid retaking photos later that a less experienced photographer might have missed.
Blog Categories Menu
Follow Renphotos
Final Thoughts
We hope you can see from the research that it is possible to get professional quality commercial photography on any budget with a good variety of images.
If you plan and communicate well with your photographer and be specific on your brief, it will help put everyone on the same page.
This way, you can get the desired result from your images and add as much variety in the time that your budget allows so you can avoid any retakes if possible.
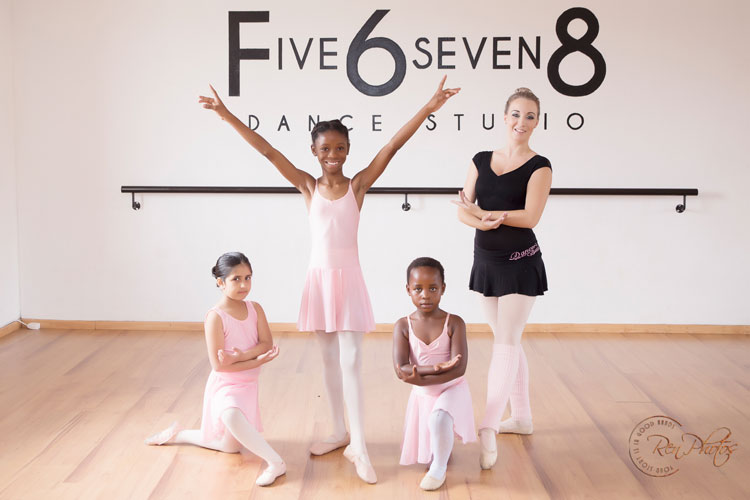
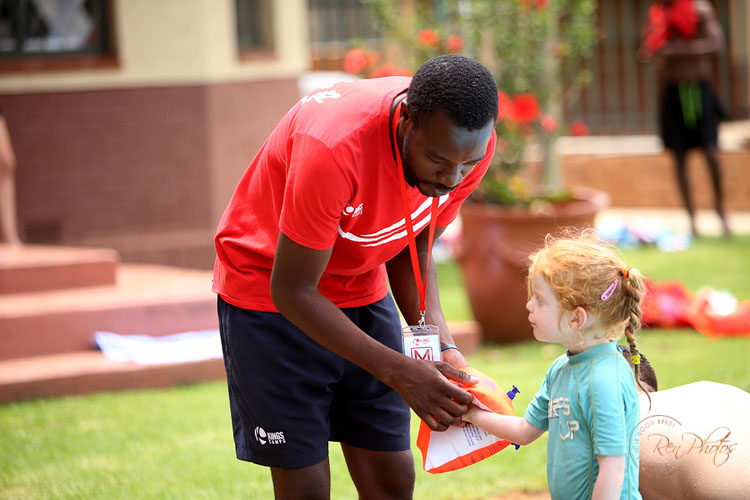
At Renphotos we have several years of experience with commercial photography and we are ready to help you achieve the look and feel you want for your business. We have worked with several clients like Five6seven8 ≫ and Junior Colleges ≫ on a regular basis. You can see more of this genre of photography on our website by clicking the link below. Or be sure to contact us if you are ready to send us your commercial photography brief and we look forward to working with you.


